Your own smart mirror: It’s hard to find your way in the coding world
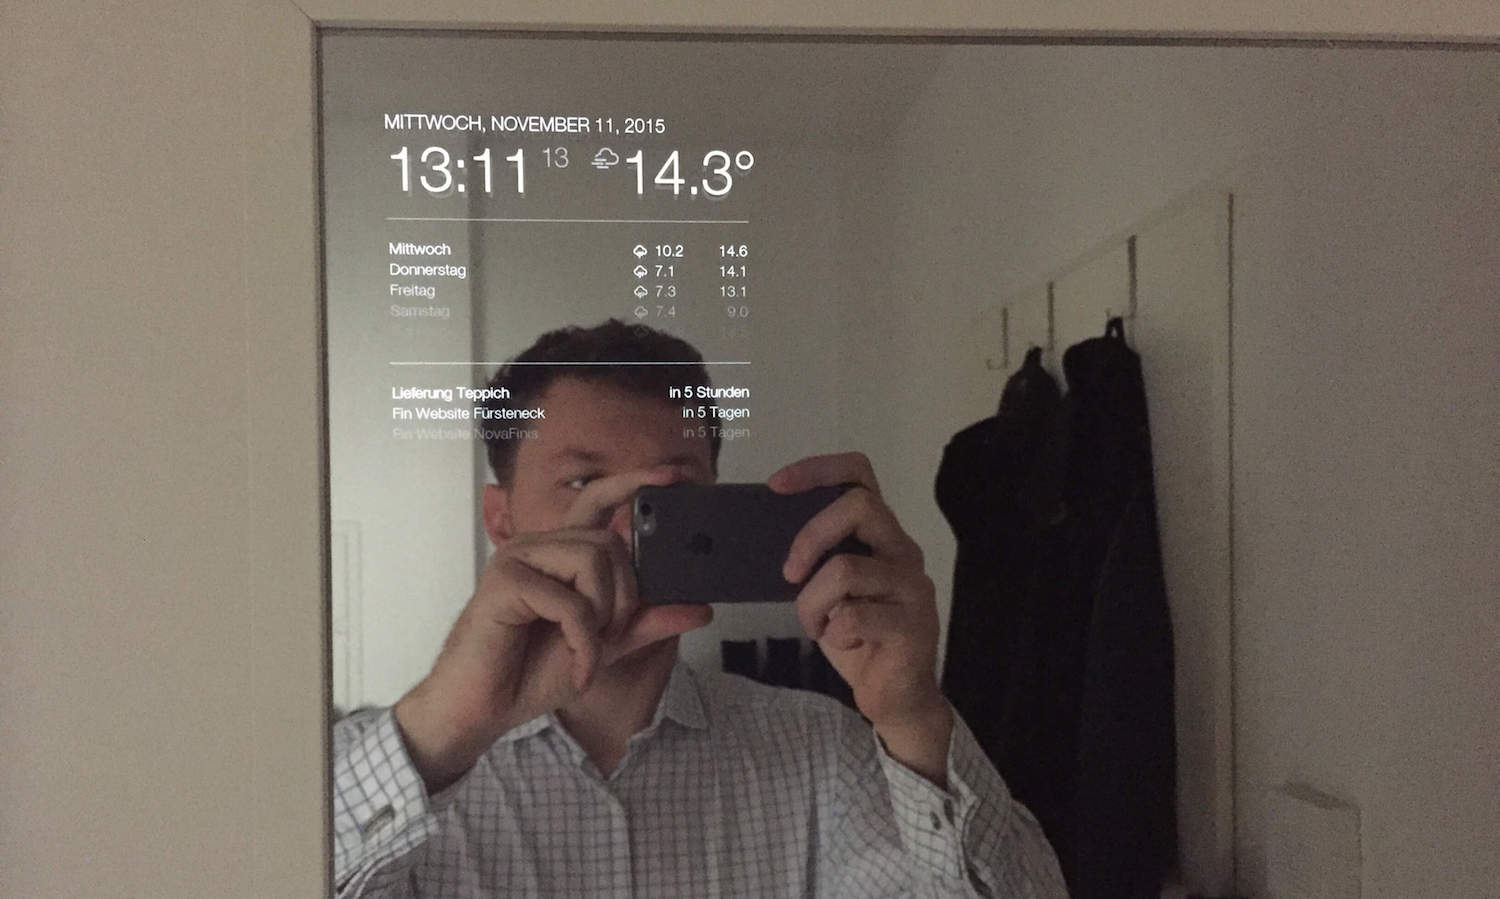
I’ve built my own smart mirror. It feels like inventing fire. Even though I’m a classic business student wearing chino pants, yachting shoes and blue dress shirts. In a word: I can explain tax-saving schemes to you or capitalize on real estate projects. But I definitely do not have a clue about coding. Honestly. Still, I tried to build a smart mirror.
It was a disaster. Just finding the right components cost me a lot of time, nerves and money. In this article I will tell you how everything started. I will explain to you why I didn’t invent the idea, but, however, decided to start the project glancr together with some friends.
How the smart mirror got my attention
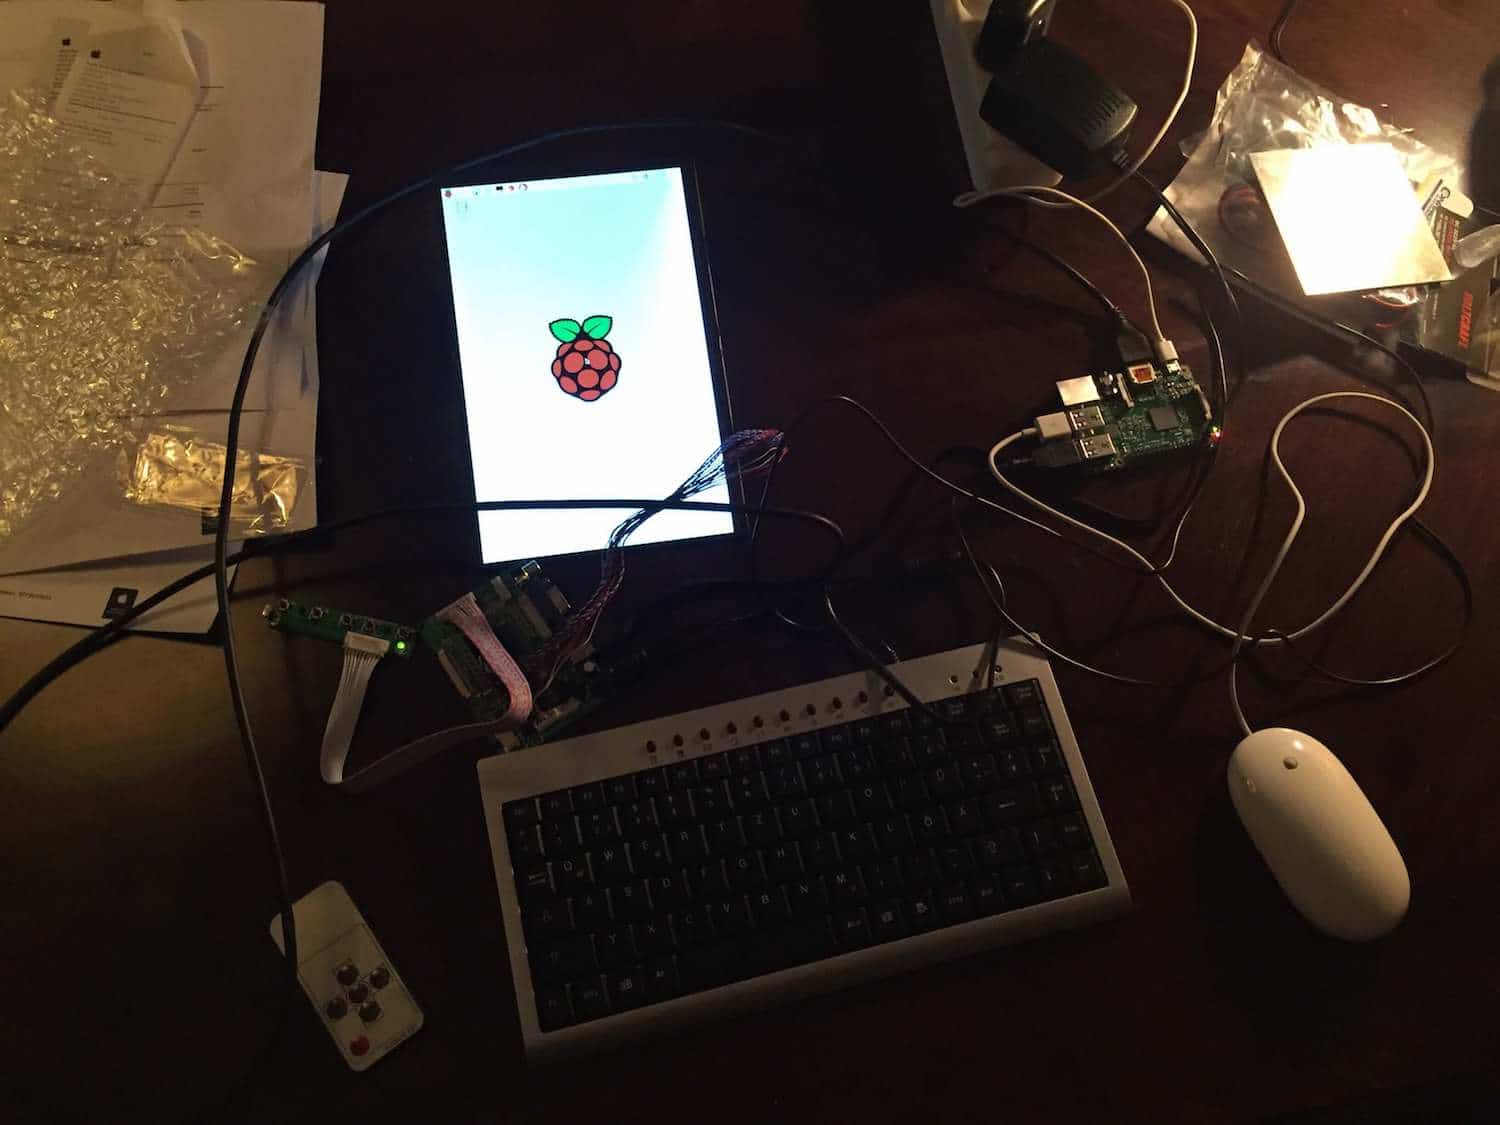
In October 2015 I was bored. My girlfriend was doing part of her law studies in Istanbul and I wanted to start some new projects while she was gone. While I was browsing the internet for ideas I came across the „Raspberry Pi“ for the first time. (For everyone as clueless as myself: The Raspberry Pi is a small computer in the size of a credit card with USB connections and computing power for smaller programs.)
I was fascinated, since I could still remember my first computer from 1990: A really old model in the size of three shoe boxes. Browsing on, I found more and more exciting projects that had been put into practice by some nerds (sorry) using the Raspberry. Among others I came across the dutchman Michael Teeuw, who presented the „Magic Mirror“ on his blog. His idea inspired me and I decided to recreate this mirror myself.
What is a smart mirror?
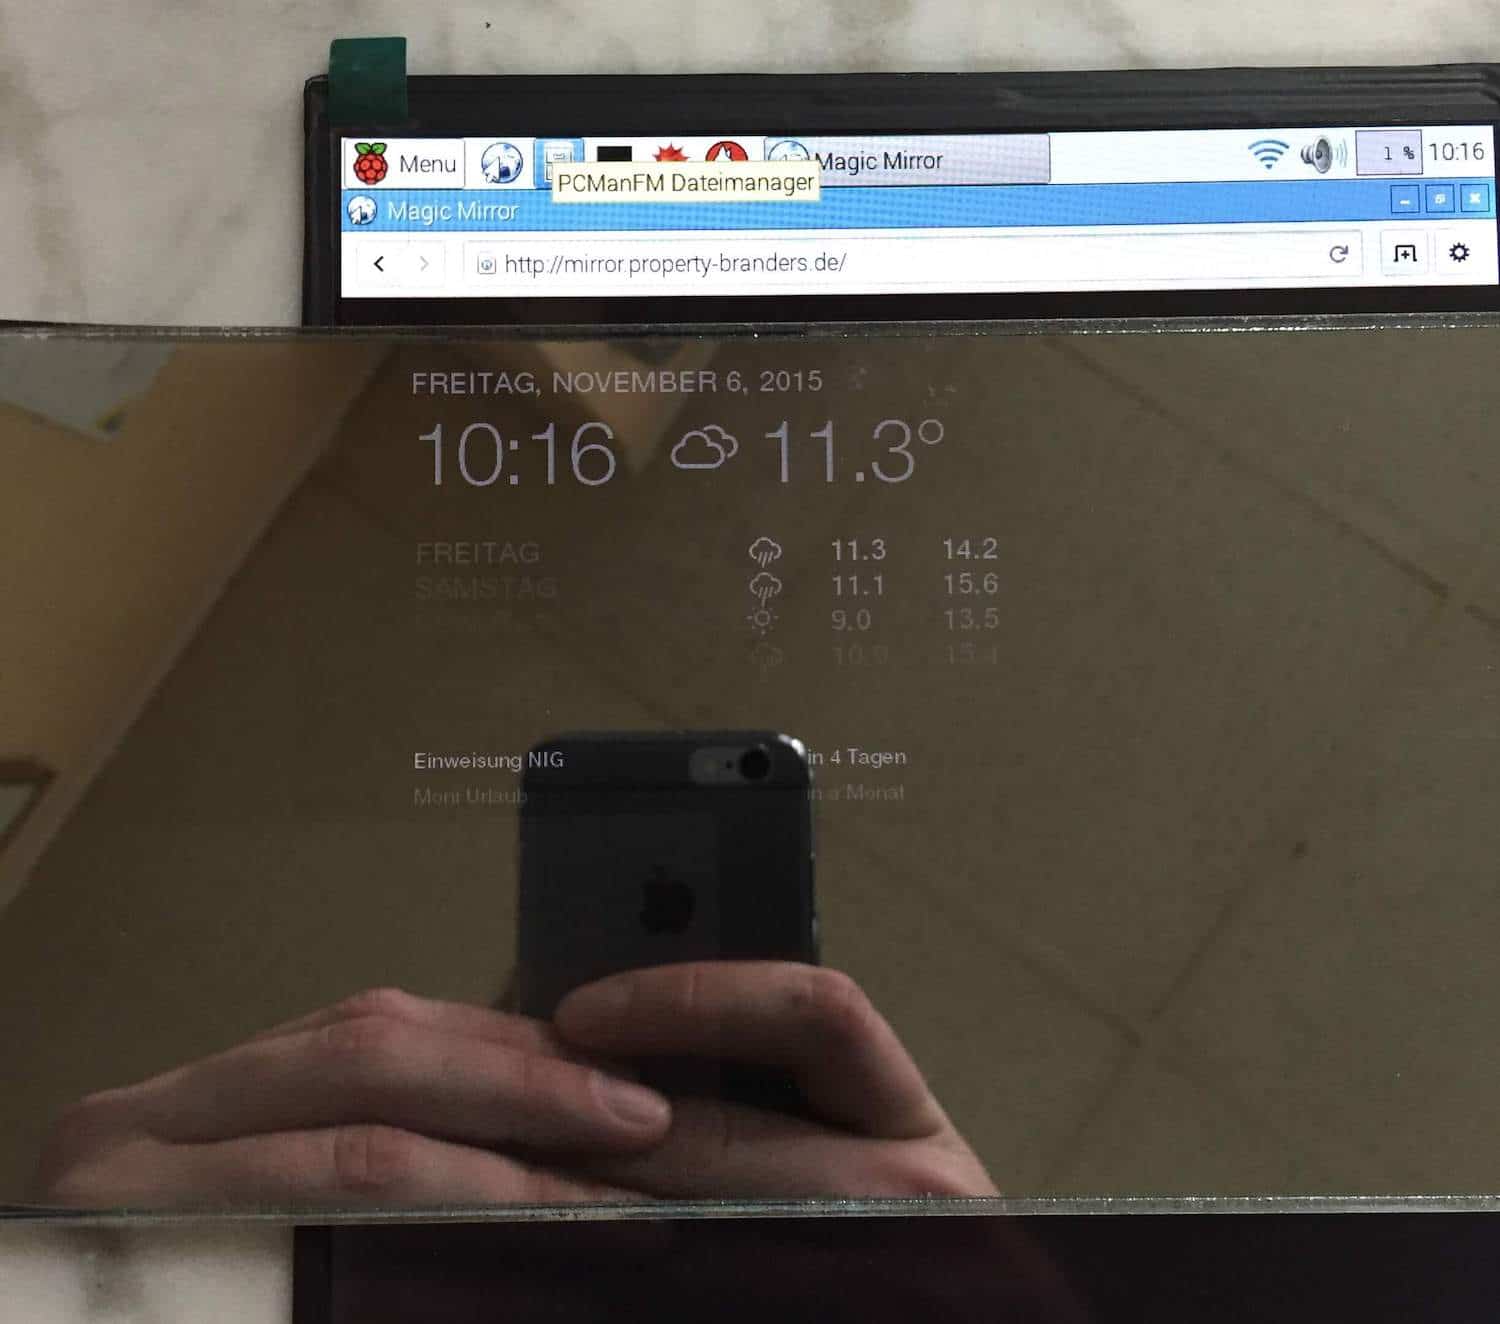
A smart mirror simply is a spy mirror in front of a display. This kind of one-way mirror appears to be transparent if you look into a bright room, while standing in a dark room. From the side of the bright room the spy mirror just works like an ordinary mirror, remaining opaque. If you choose a dark frame and white light for the writing, the writing will be visible on the side that you’re looking at. Sounds awesome.
However, the spy mirror only becomes a smart mirror once it is connected to the computer, which is connected to the wifi. Really simple.
The first humiliation
Am I an idiot or what’s the secret of switching on this computer in the first place?
After I had ordered all components and knew what to do, I faced the first obstacles.
- How do I turn-on the Raspberry in the first place? It doesn’t have a power button.
- How does the operating system of Raspberry work? Because at first nothing happens.
- How do I connect Raspberry to the wifi?
- And how do I tell it what to do?
I hoped to find simple “business-management-student-compatible-answers” to these simple questions
But this was not the way it worked. If you don’t have a clue about coding and start reading tech-blogs you’ll get depressed after a short while. You literally won’t understand anything. Those blogs basically have their own language using terms that start with “sudo” and end in cryptic codes. If you try to ask politely how those codes work you either won’t receive an answer or will be bullied by condescending tech-freaks how idiotic you are. Or you’ll receive answers that raise even more questions.
Oh well, I might not be a high-flyer, but I do not give up so easily. I am a person that keeps on working until I have all the answers I need. My former boss told me I had the gift of polite pushiness. This really helped!
Without the help of a few friends I would have never finished the smart mirror
After hours of youtube tutorials the Raspberry started working and the display lighted up. Of course, the website did not show yet and while the computer was starting, it showed colorful error reports.
I really really tried. But then I reached a point where nothing seemed to work anymore. Luckily, some friends and friends of friends (Arik, Vincent, Gordon und Mattes) supported and helped me, so that after a while my first smart mirror was finally finished.
Aesthetics of the smart mirrors
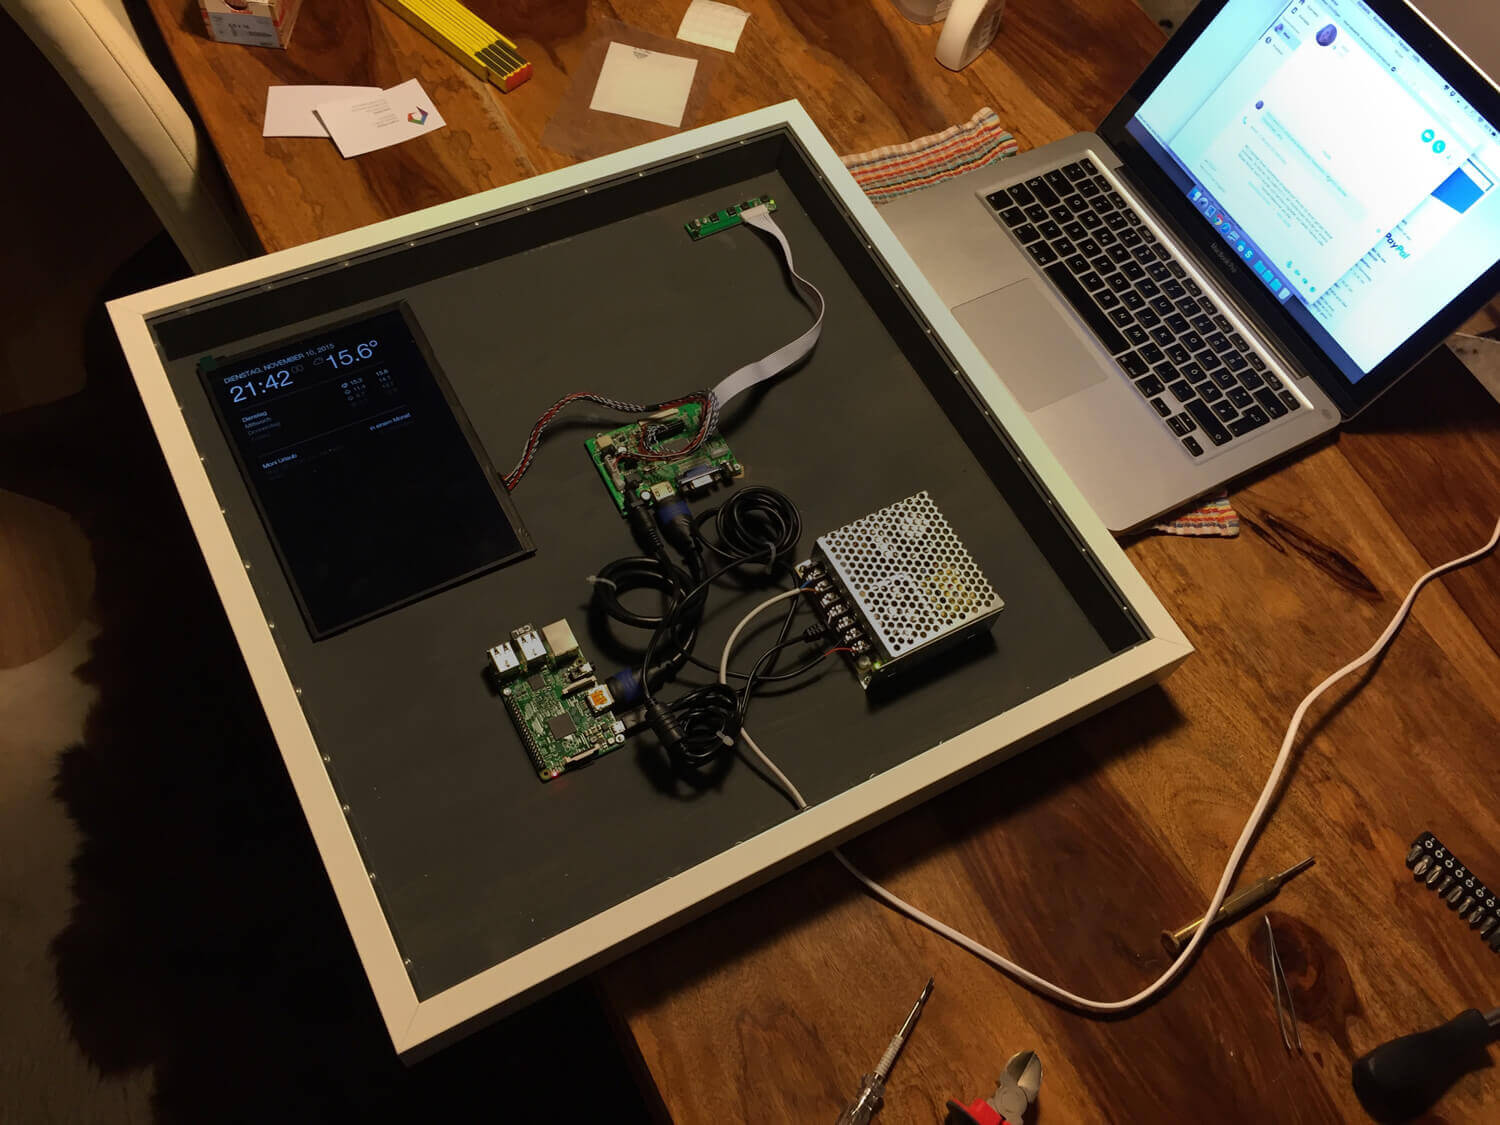
Unlike other construction manuals which can be found on the internet, it was important to me to build something beautiful. Also, if I hadn’t my girlfriend would have gone crazy having an ugly mirror hanging in the hallway after her return. So, beautiful to me meant one closed case, one cord and nothing else. I hate cable spaghetti. I actually even hate the one cable that’s visible, but the mirror won’t be able to work without electricity. This is why I built the first prototype using an IKEA picture frame, exchanging the glass for a mirror. The depth of the frame was well suited to hide everything unnecessary.
The mirror glass
By the way, concerning mirror glass you might find this tip useful: On the internet you’ll find construction manuals suggesting to use an inexpensive mirror film. Using water, the foil is glued to the glass. I also tried this, but unfortunately the results were kind of disappointing. As soon as I removed the protective film from the foil, it became charged with electrostatic energy and attracted tiny dust particles. The result of this were small margins and bubbles in the foil. This really is not beautiful and also annoying. It was also the reason why I switched to the real one-way mirror made of real glass. The only downside: This mirror is quite expensive.
Nevertheless, because of this detour I was able to test different glass types with different light transmissions.
This is why we developed glancr
As you can see for an ordinary mortal like me it takes a village to build a smart mirror. The reason for this: So far, there is no solution which is actually consumer-friendly.
Again: We did not invent the smart mirror. But we’ve changed the concept in order to make it available to everyone. We’ve changed the smart mirror into a simpler product, which only needs to be connected to power and then guides you through the single steps. It’s that simple. Also, you can customize your smart mirror according to your wishes.
- Very soon, we’re going to release a construction manual, guiding you through the construction of your smart mirror
- You can download, use and change our operating system mirr.OS for free.
- The basic modules are free (right now: time, date, weather forecast and newsfeed)
- You can buy other special-modules for a few cents. And, yes, adding modules stays simple after the set up of glancr. Promised.


